About Ender-3 & Ender-3X (Ender-3 + 1*Tempered Glass + 5 Nozzles)
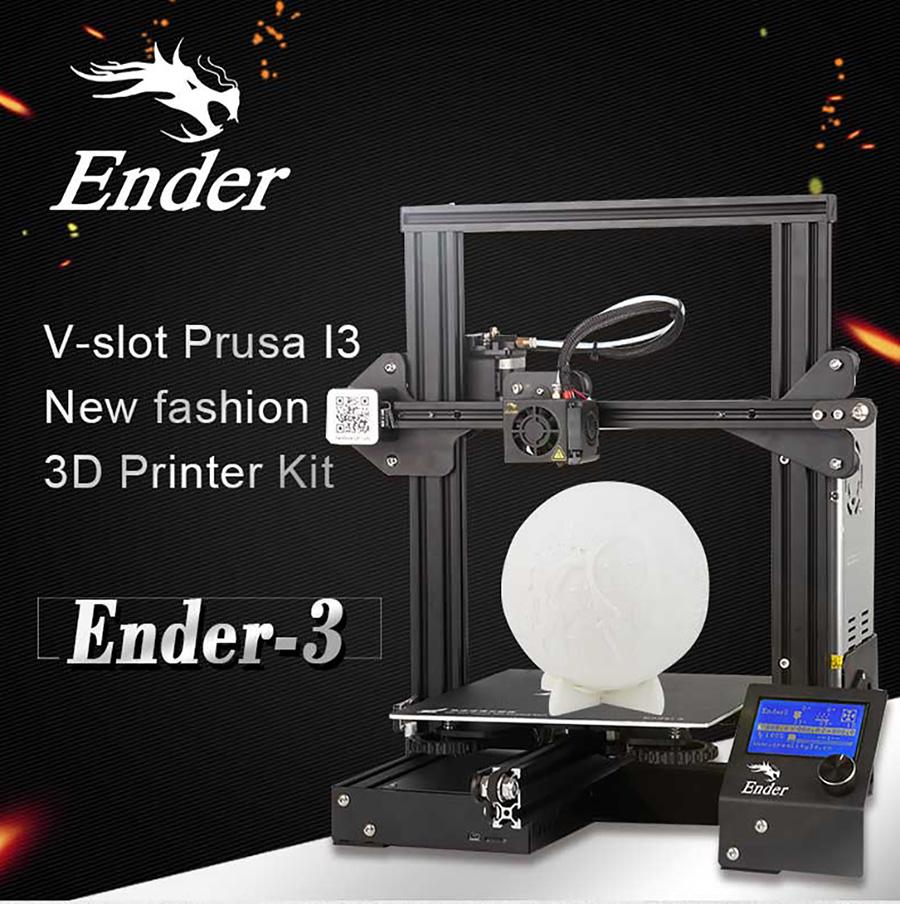
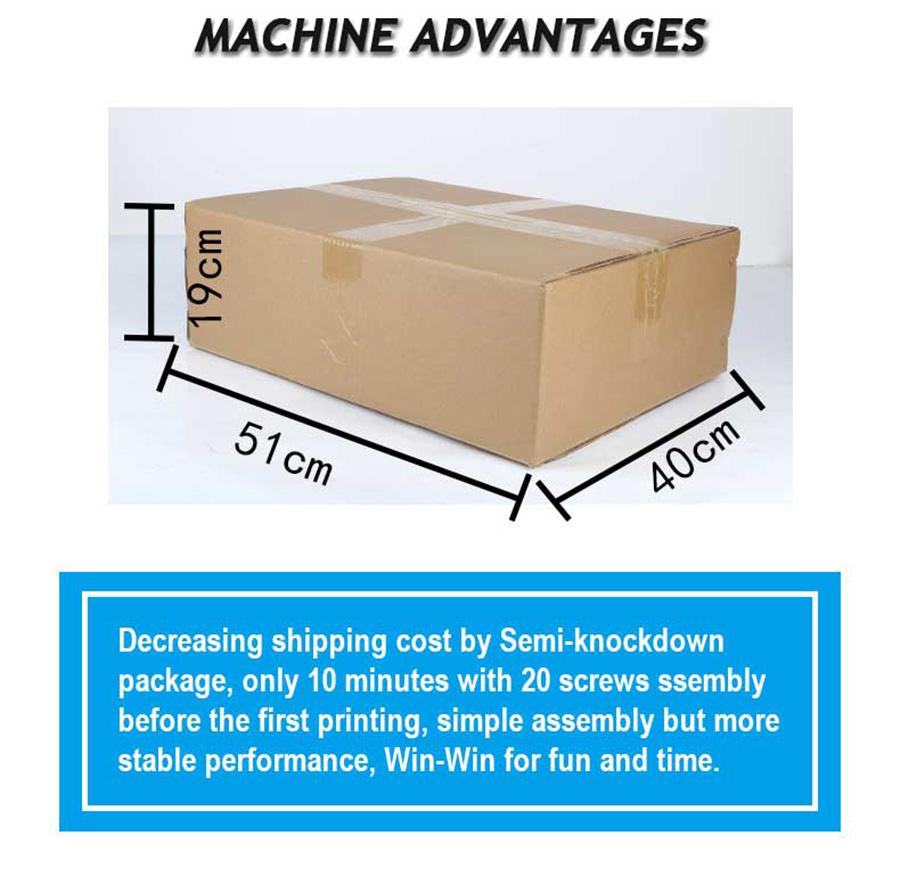
- Easy and Quick Assembly: It comes with several assembled parts, you only need about 2 hours to assemble 20 nuts well.
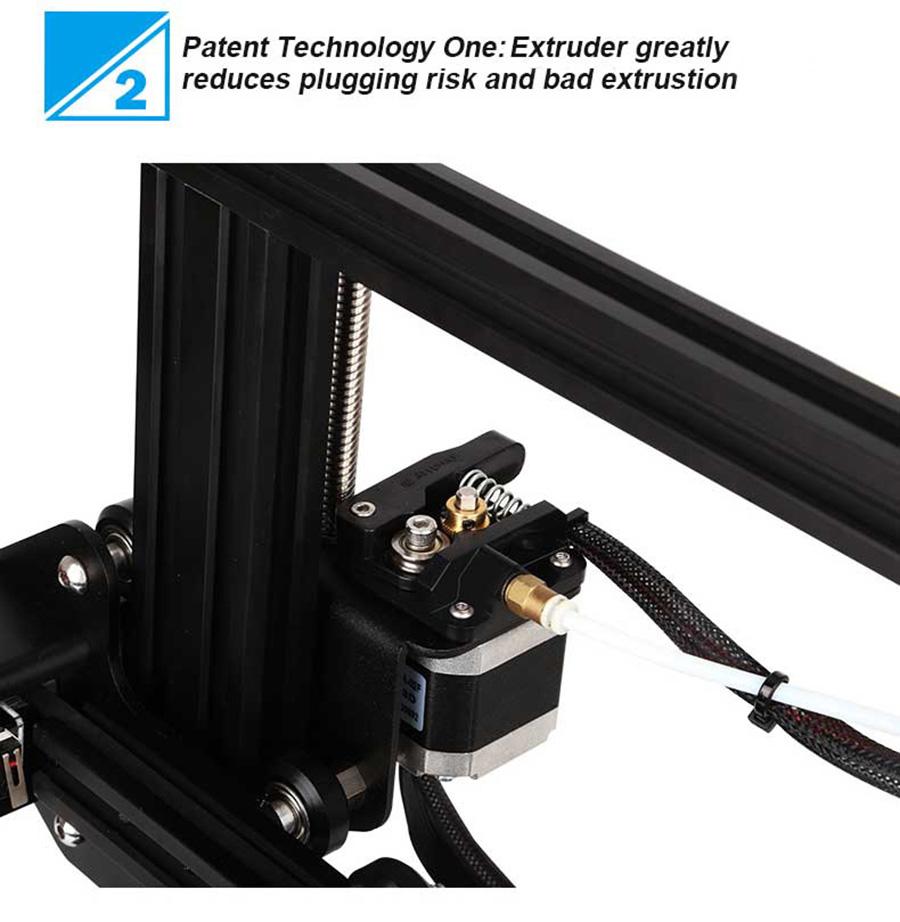
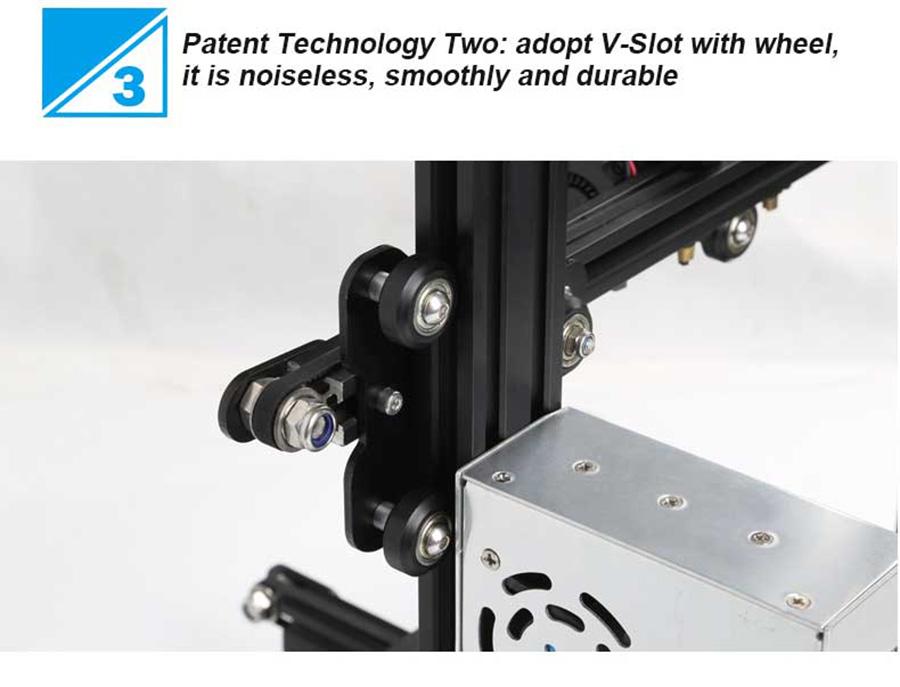
- Advanced Extruder Technology: Upgraded extruder greatly reduces plugging risk and bad extrusion; V-Shape with POM wheels makes it move noiseless, smoothly, and durable.
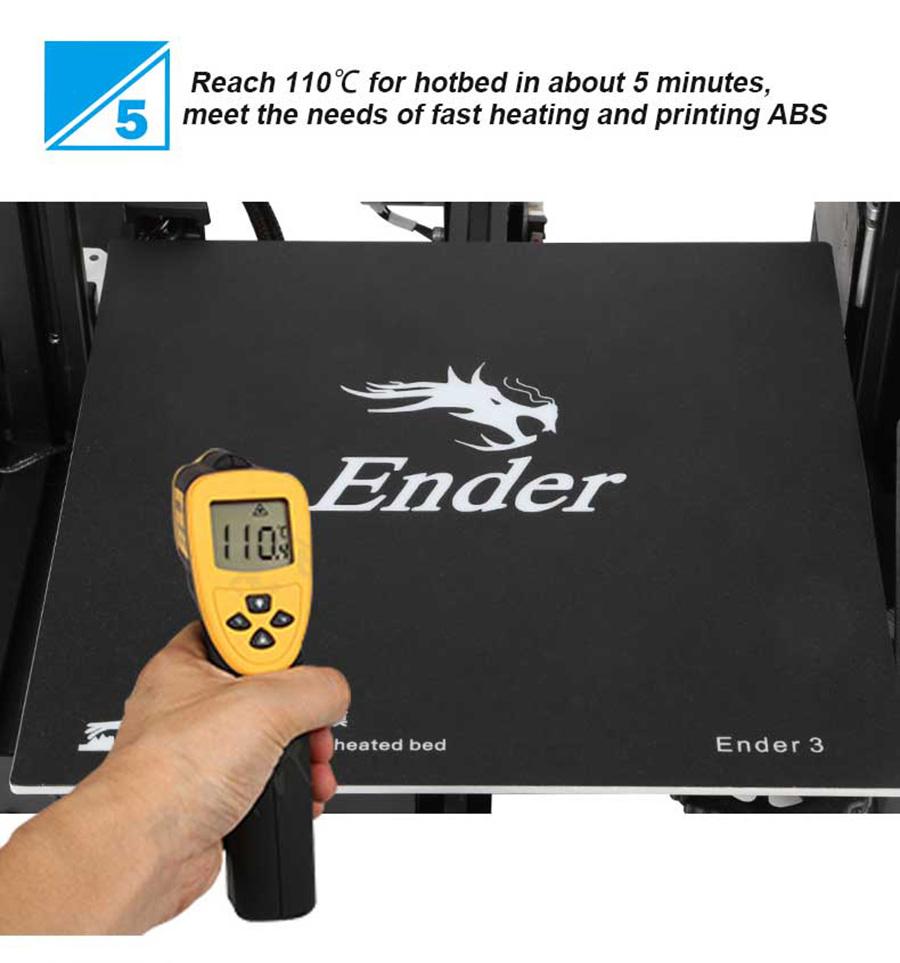
- Safety Protected Power Supply: Only needs 5 minutes for the hotbed to reach 110℃.
- It is a great project for middle school and high school-aged students. The perfect gift to spark a lifelong love for science and engineering, and provide a deeper understanding of machinery and robotics.
Ender-3 V2-Upgraded Version of Ender 3
- Updated mainboard with silent TMC2208 stepper drivers: Compared to the Ender 3 and Ender 3 pro, a V2 design that delivers users out-of-the-box experience and silence-oriented upgrades(quieter 3D printers).
- New UI & 4.3 Inch Color Screen: With a 4.3-inch color screen and a redesigned UI that prioritizes ease of use, the Ender-3 V2 is an ideal choice for beginners.
- Carborundum Glass Bed: Better adhesion when you need it, and easier to remove prints when cooled.
- Easier Maintenance: Pre-installed X and Y-Axis belt tension make it even easier to keep your machine printing at its best. Easily adjust belt tension to maintain accuracy performance.
- Storage Toolbox: Forget where you put those tweezers or snips? Built-in compartment to store your 3D Printer essentials.
Comparison of Ender 3 and Ender 3 V2
Ender 3 & Ender 3 V2 Parameter
| Printer | Ender 3 | Ender 3 V2 |
| Modeling Technology | FDM(Fused Deposition Modeling) | FDM(Fused Deposition Modeling) |
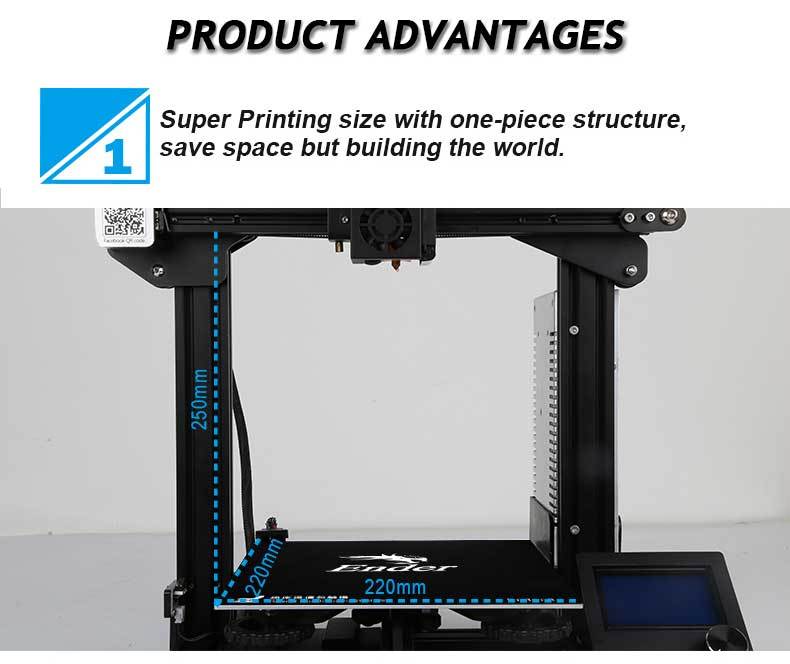
| Printing Size | 220*220*250mm | 220*220*250mm |
| Machine Size | 440*410*465mm | 475*470*620mm |
| Package weight | 8kg | 9.6KG |
| Fliament | PLA/ABS/TPU | PLA/ABS/TPU/PETG |
| Input | AC 100-265V 50-60Hz | AC 115V/230V |
| Output | DC 24V 15A 360W | DC 24V 270W |
| Precision | ±0.1mm | ±0.1mm |
| Material shortage detection | No | No |
| Toolbox | No | Yes |
| Power off Resume | No | Yes |
| Printing Platform | Platform stickers | Carborundum Glass Platform |
| Teflon Tube | Ordinary Teflon tube | Ordinary Teflon tube |
| Layer Thickness | 0.1-0.4mm | 0.1-0.4mm |
| Screen | Normal Interface | New UI Interface |
About Creality Ender 3
 |
 |
 |
 |
 |
 |
 |
 |
 |
 |
 |
Creality’s Ender 3 3D Printer is Now Fully Open SourceCreality3D, the Chinese manufacturer of 3D printers, has announced the open-sourcing of its most popular 3D printer, the Ender-3. This makes it the first Open Source Hardware Association certified 3D printer in China... |
My first few days with the Creality Ender 3My amazing wife bought me a 3D printer for Christmas this year (along with some other dope stuff!). She bought me the Creality Ender 3, which I think is the best ~$200 3D printer on the market. I was eager to see if I got a 3D printer, so I was up at 6:30 am on Christmas morning READY to rip into presents! |
Creality Ender 3 Bed Leveling – All You Need to KnowAny structure needs a strong foundation. The same is true for 3D printed objects. Leveling the bed on your Creality Ender 3 will ensure that that all-important first layer is solid... |
FAQ
Filament not stick on hot bed ?
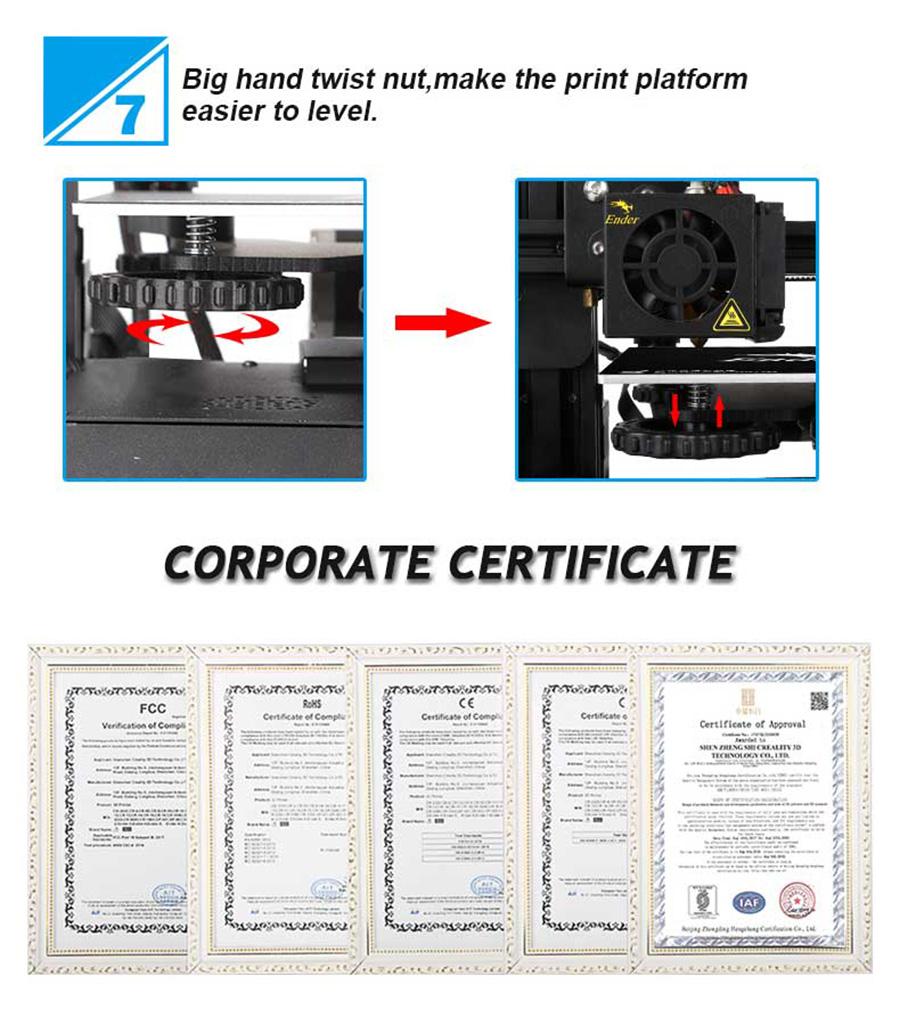
For newcomers,this is the most common problem.Do not worry,you can solve it easily.Generally,the distance between nozzle and platform is too far or near.So rotary the knob under platform to adjust the distance between the nozzle and platform again,at a piece of A4 paper distance or less) .
The display shows "Min temp"?
This happens for the following reasons: 1. Thermistor port of nozzle is not plugged into the motherboard above, or poor contact; 2. Thermistor port of nozzle is broken, you need to replace the spare thermistor.
The display shows "MAX temp"?
This happens for the following reasons:
1.Thermistor port of nozzle screw is locked tightly, cause the temperature can not be sensing;
2.Thermistor port of nozzle is broken, you need to replace the spare thermistor.
Axis movement is not normal ?
Please check axis lines and limit lines whether the one-to-one correspondence,whether loose.When you check the extruder motor,you must preheat nozzle over 185℃.
Circles not round,Lines not touching?
If X/Y belt is loose,you can find circles are not round,Lines not touching when printing.Tighten all belts as far as possible.
How to level creality Creality Ender 3 ?
- Move the nozzle so that it’s positioned over the left corner of the bed. A half inch or so from both sides is a good location.
- Slide the paper between the nozzle and the bed. If it doesn’t fit, drop the corner until it does.
- Once the paper is able to slide under the nozzle, very slowly raise the corner with the adjuster. Remember: Clockwise moves the bed up. As you do this, gently slide the paper back and forth. The moment you feel even the slightest resistance to your moving the paper, stop turning the knob. That corner is (almost) ready to go.
- Do the same for the other three corners of the build plate. Always advance the hot end to a new corner slowly. This will prevent damage to the build plate in case the nozzle starts to drag. If this occurs, simply lower the next corner (before starting the leveling process) to make some room.
- After you’ve adjusted each corner once, go back and check the four corners again. You may have to do further adjustments to get all four correct.
Does Creality Ender 3 need to be assembled all by itself ?
No, Ender 3 is a semi-assembly machine. You can refer to our packing instructions for assembly. Its installation is quite simple.
How long will it take to install Creality Ender 3 ?
The specific installation time depends on the user's familiarity with the product.If you are familiar with the product and can fully understand the installation instructions, it will take about 30 minutes. If you don't know much about a 3D printer, it takes about two or three hours.
What filament does Creality Ender 3 use for printing ?
PLA,PETG,ABS
Does Creality Ender 3 support automatic leveling?
No,Ender 3 does not support automatic leveling.
Creality ender 3 how to change filament ?
Step 1:Adjust the nozzle temperature to the consumable melting temperature and remove the consumables to be replaced.
Step 2:Push the new filament along until you feel firm resistance. This means it has reached the nozzle.
Step 1:Set the heating temperature, eliminate old consumables, and make new prints.


